Baby Shower Cupcake toppers
Mum rang me after coming home from the office one night and told me that she was organising a baby shower morning tea for one of the Executives. Everyone was bringing a plate, but she wondered if I could ‘whip up something a little special’…
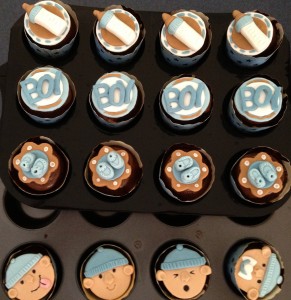
Cake toppers are an easy way to theme and decorate cupcakes. They can be as elaborate or as simple as you like, can be made ahead of time or at the time of decorating. These were a little labour-intensive, but that’s because I made a few different ones rather than having them all the same. I made them over two nights and found it to be therapeutic actually…like playing with play doh. So get comfy (or a notebook and pen if you want to take notes) and I’ll walk you through the steps to make these baby shower fondant toppers. I’ll do this as a four part blog and do a different topper in each…As they’ve been requested, I’ve started with the baby faces.

Faces:
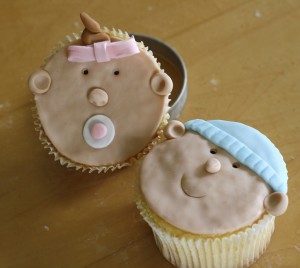
I’ve made these before here, they are a crowd favourite. They’re simpler than they look, but if you plan on doing them with all different expressions/accessories it will take a bit of time. Obviously you will need to trim, bake, syrup (if desired) and ganaché the cupcakes to prepare them for the fondant covering. I decorated these when I needed them, not making the topper ahead of time like the other 3 designs.
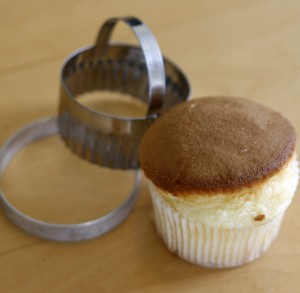
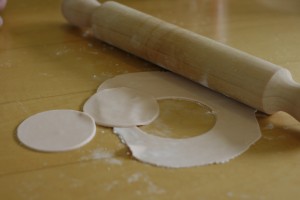
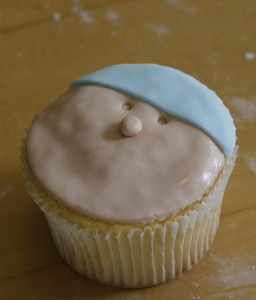
To cover the cakes knead your skin-toned fondant and roll out onto your Mat or dusted surface. Using a circle cookie/shape cutter (measure it over the top of your cupcake to ensure coverage) cut out enough circles to cover the number of cupcakes you will be making (It’s best to work with a system, cutting all the circles at the same time, rolling and sticking all of the ears at once etc.) If your ganaché isn’t moist, you can always brush with more hot water or syrup to attach the fondant.
The nose and ears:
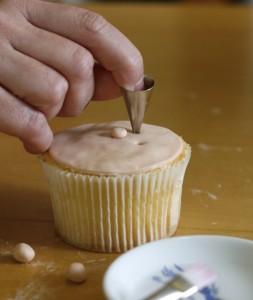
Roll small balls of the same coloured fondant. Attach with a tiny brush of water in the centre of the face for the nose (you may like to add nostrils with a tool or skewer). Use a small straw or piping nozzle to make circle marks where the eyes will go – above the nose. For the ears, make two more balls with the skin coloured fondant, a little larger than the nose, and attach at the sides of the head – in line with the eyes. Give them a little press with a balling tool – or a skewer that has a ball of fondant on the end (this will help to soften the hard edge of the skewer and you won’t need to buy a balling tool).
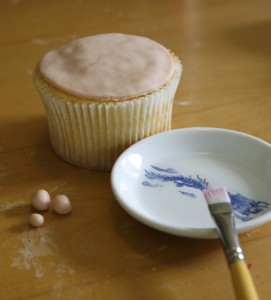
Roll balls of fondant for the nose and ears. The water should not run, drip or pool when you attach any pieces – a light brush only.
The mouth:
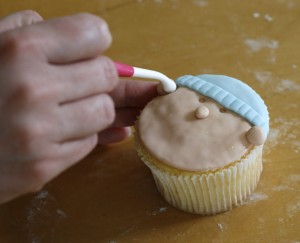
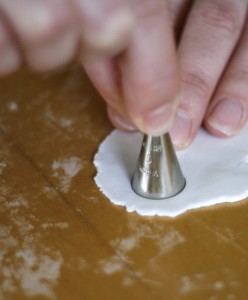
For babies that won’t have a dummy, use an edge of a round or oval shape cutter, or use the base of a piping tip and press the shape into the soft fondant to create the smiling mouth shape.
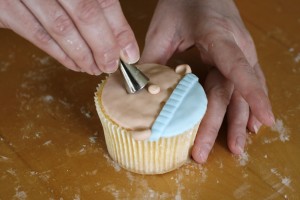
You can use any round cutter or nozzle. Even a large drinking straw would work if you cut the end on the diagonal
The beanies or hats:
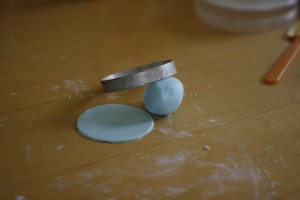
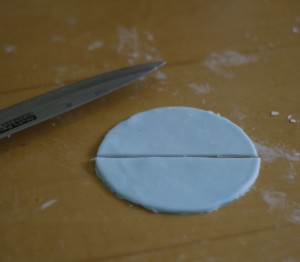
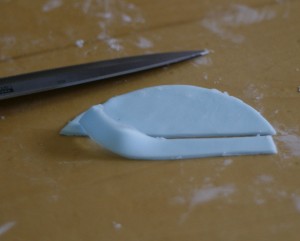
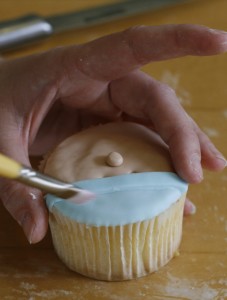
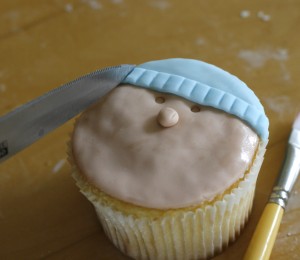
Roll out your choice of coloured fondant (as this is a second layer the thinner the better). Using the same circle cutter that you used to cut the face, cut a circle in your hat-coloured fondant. Cut it in half and using a sharp knife or pizza cutter cut a strip from the bottom of the semi-circle (this will be the trim or up-turn of the beanie). Using a light brush of water attach the strip to the semi-circle and mark the lines on your trim with the back of a knife. Roll a small ball of fondant, again use a light brush of water to attach to the top of the hat and press it down with your finger.
Dummies:
These can be a range of shapes. I have seen them cut with small circle cutters and oval cutters. Mine have been done using a piping nozzle and a crescent-shaped cutter. It’s your choice which shape you use – or if you like, use a knife and cut them by hand. Finish them off by adding a ball or rolling a ‘u-shaped’ handle. Attach the pieces together and to the face with water.
Hair tufts and bows:
The hair is quite simply a cone shape that has a twist in it. Attach with water.
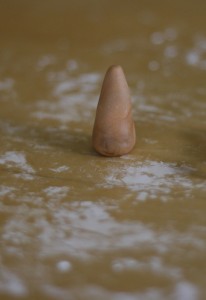
Roll into a ball. Use one finger and a little pressure to roll one end to form the cone shape. It needs to be long enough to twist
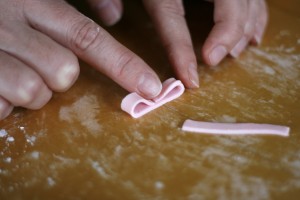
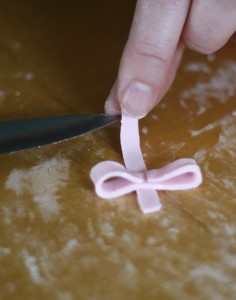
The bows can be done with a heart-shaped cutter or by making a bow using strips of fondant (use the fettuccini setting on your pasta machine if you have lots to do!). Cut a length of fondant about 3mm wide or the width of fettuccini. Fold the two ends to meet in the centre to create the loops and stick with water. Place this onto another ribbon of fondant the same width. Fold it over to create the knot of the bow and cut at the base. Attach to the head or hair with water.
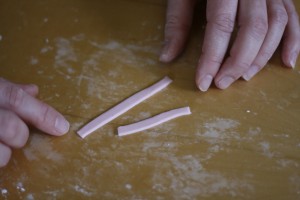
Start with two strips about 2-3mm wide. The length of the strip depends on the size of the bow, so don’t make it too long – this one is larger, but as a rule I measure from the tip of my pointer-finger to the first knuckle (about 2.5-3cm)
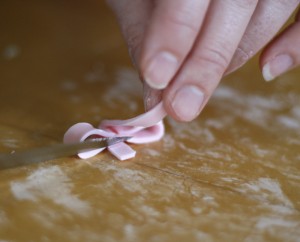
Use the tip/side of your knife against the side of the bow to help hold it still while you gently lift the second strip over the top
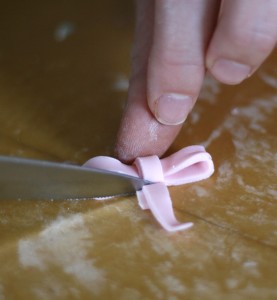
Don’t pull the knot too tight or your fondant will tear, then trim the excess as close to the bow as possible – you can attach with water before you trim if it’s too dry
Extra Details:
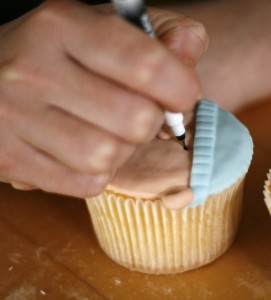
To finish them off, add details in black food colouring with a fine paint brush or with an edible marker.
I did the centre details of the eyes, open mouths and closed eyes with the black. The face expressions and details are only limited to your imagination so go crazy and give them a touch of your own style..enjoy!




Leave a Reply
Want to join the discussion?Feel free to contribute!